Google app API: Difference between revisions
No edit summary |
No edit summary |
||
| Line 2: | Line 2: | ||
<br /> | <br /> | ||
Log on <nowiki>https://console.developers.google.com</nowiki> with your Google Admin account and create project[[File:2.jpg|left|thumb|1162x1162px]] | Log on <nowiki>https://console.developers.google.com</nowiki> with your Google Admin account and create project[[File:2.jpg|left|thumb|1162x1162px]] | ||
Enter Project Name and Domain | |||
<br /> | <br /> | ||
[[File:Google Project.jpg|none|thumb|525x525px]] | [[File:Google Project.jpg|none|thumb|525x525px]] | ||
Revision as of 12:22, 18 July 2019
Steps to make UMS syne work with Google Apps.
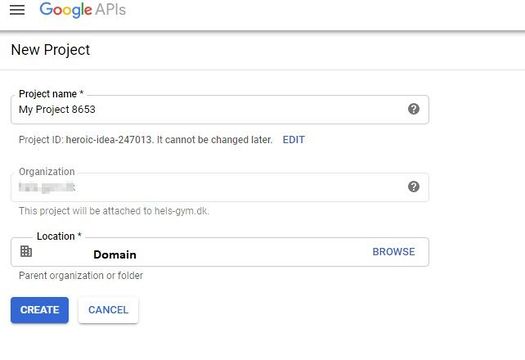
Log on https://console.developers.google.com with your Google Admin account and create project

Enter Project Name and Domain
Be aware that you have chosen the right project and then click on " + ENABLE APIS SERVICES "

Google automatically opens the API Library where you can search for services.
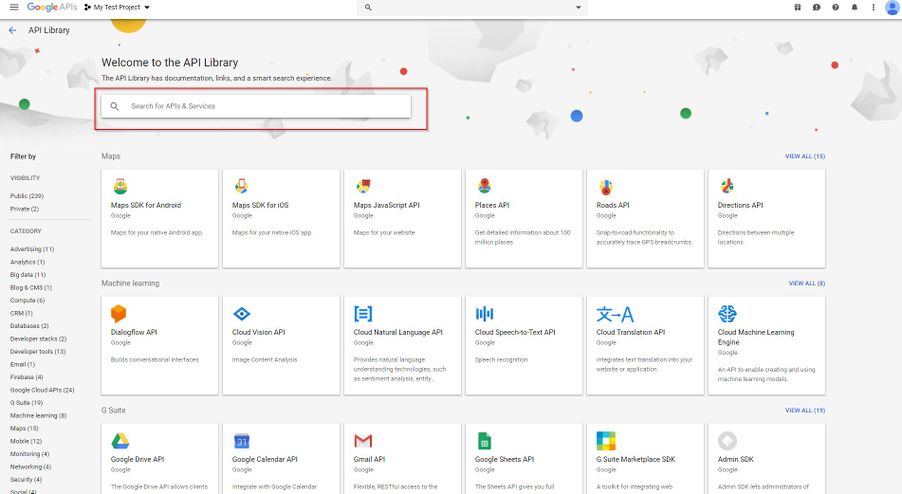
- Notice that the "Drive SDK" does not exist in the new API
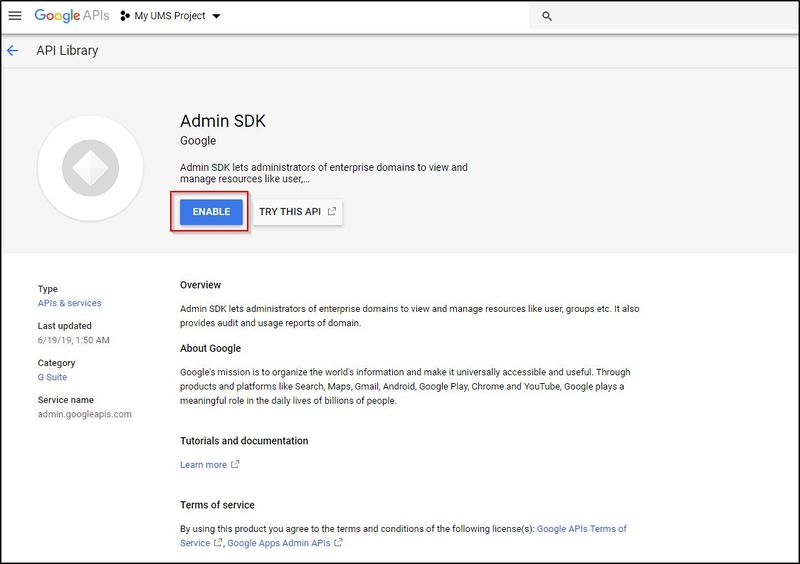
- Enable the foliowing APls (Remember that you can search for each API)
Admin SDK
BigQuery API
Calendar API
Google Drive API
Service Control API
Cloud SQL
Cloud SQL Admin API
Cloud Storage
Google Cloud Storage JSON API
Group Settings API
Site Verification API
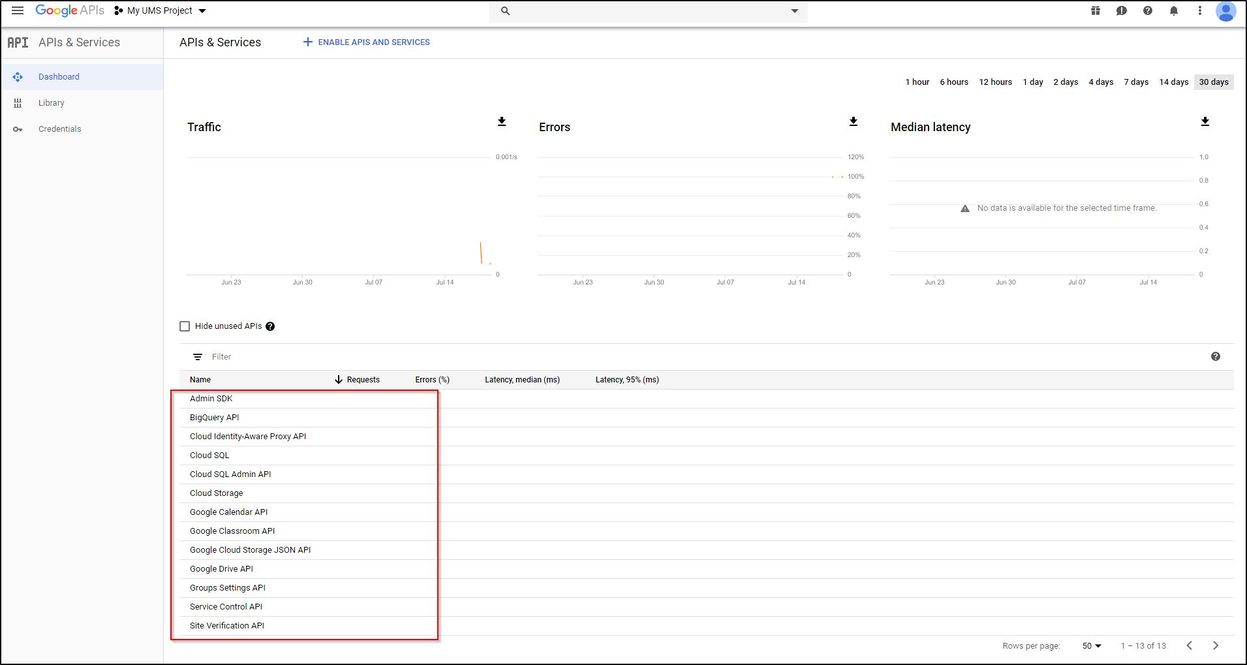
This is what it should look like in the end.
Change of API Quotas Google's quotas are by default set to the highest. If you want to change the quotas, follow the next 2 steps
To set Quota click "Dashboard" and choose "Admin SDK"
Click "Quota"
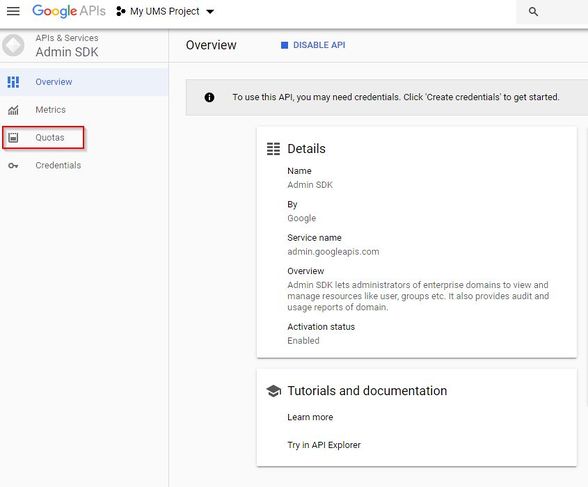
Google automatically opens the Quotas

Create API Credentials
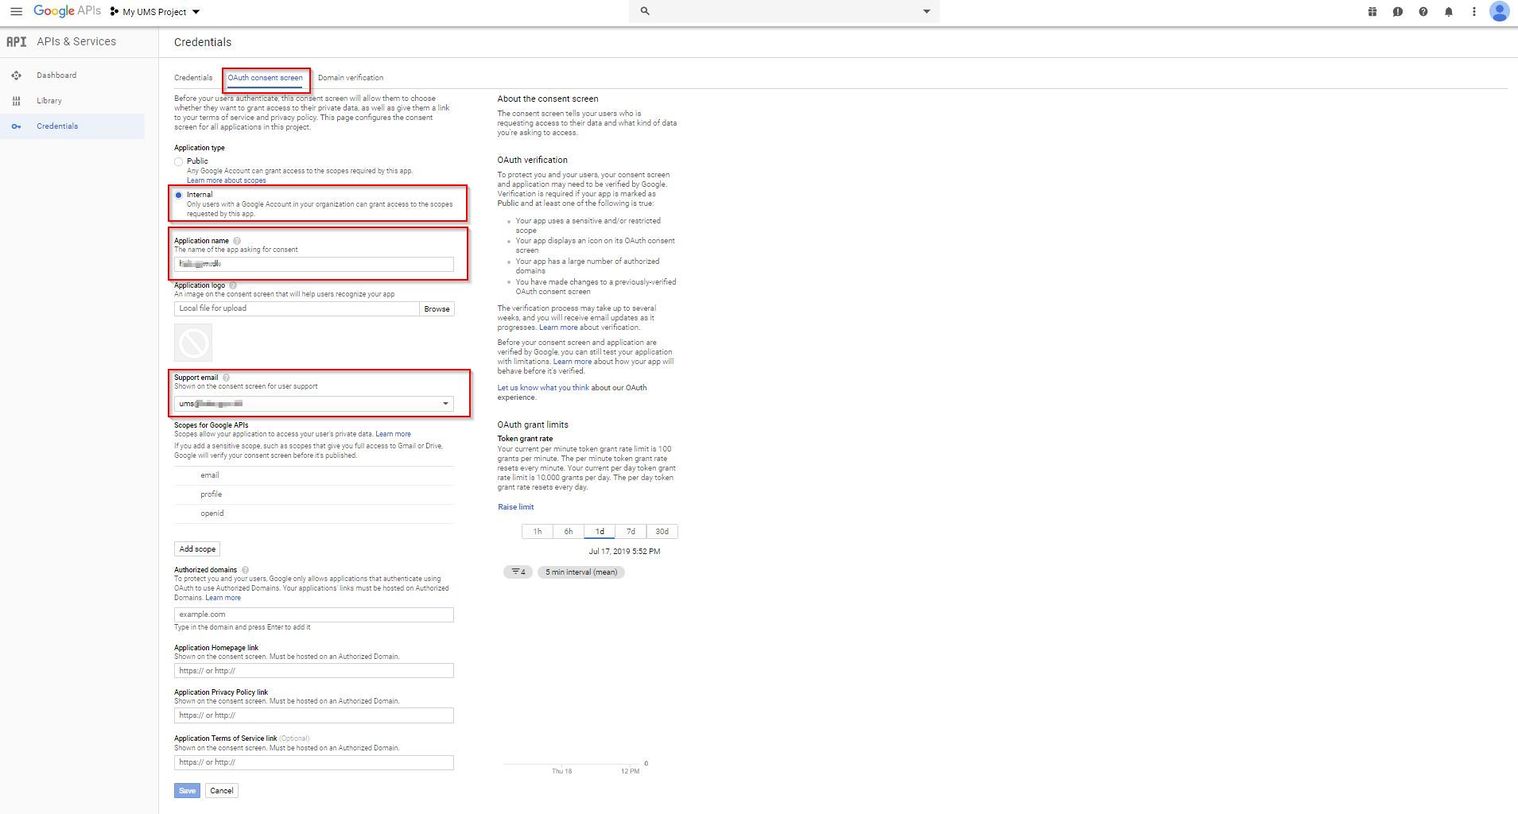
Click on " OAuth consent screen "
Then Choose "Internal" and enter " Appliation Name " use Domain name and enter "support email"
Click "save"
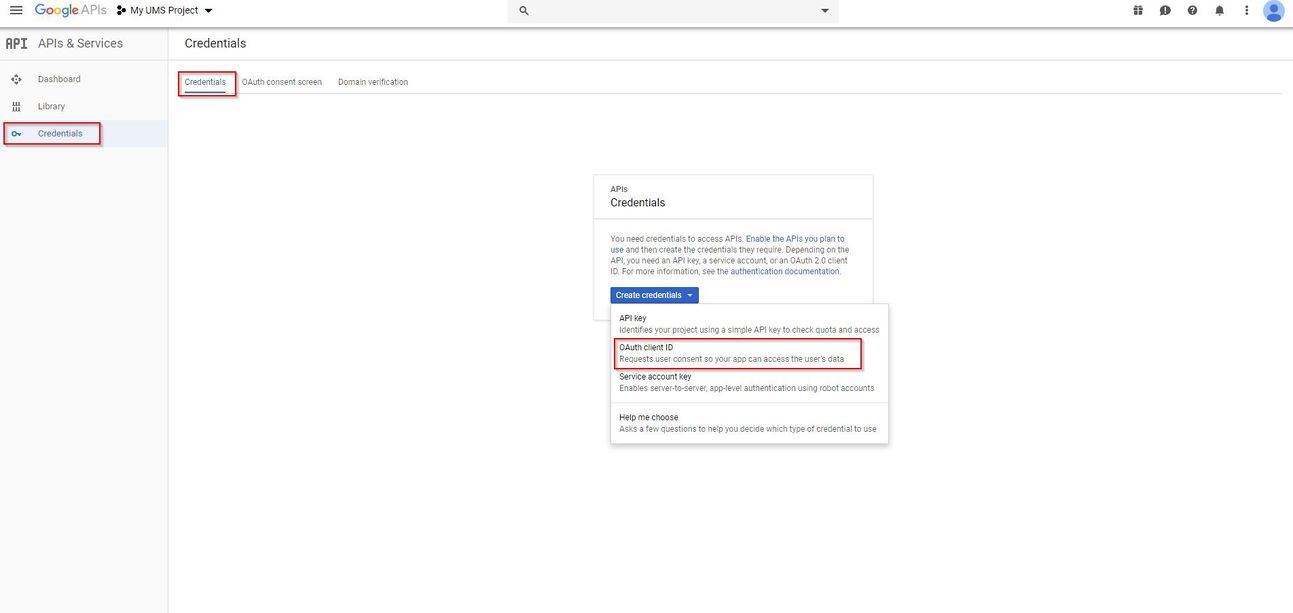
Click on "Credentials" and Create "OAuth Client ID"
Click Other and enter a name
Click Create

Copy Client ID and Client Secret for it to be used in UMS Configurator under Google organization settings
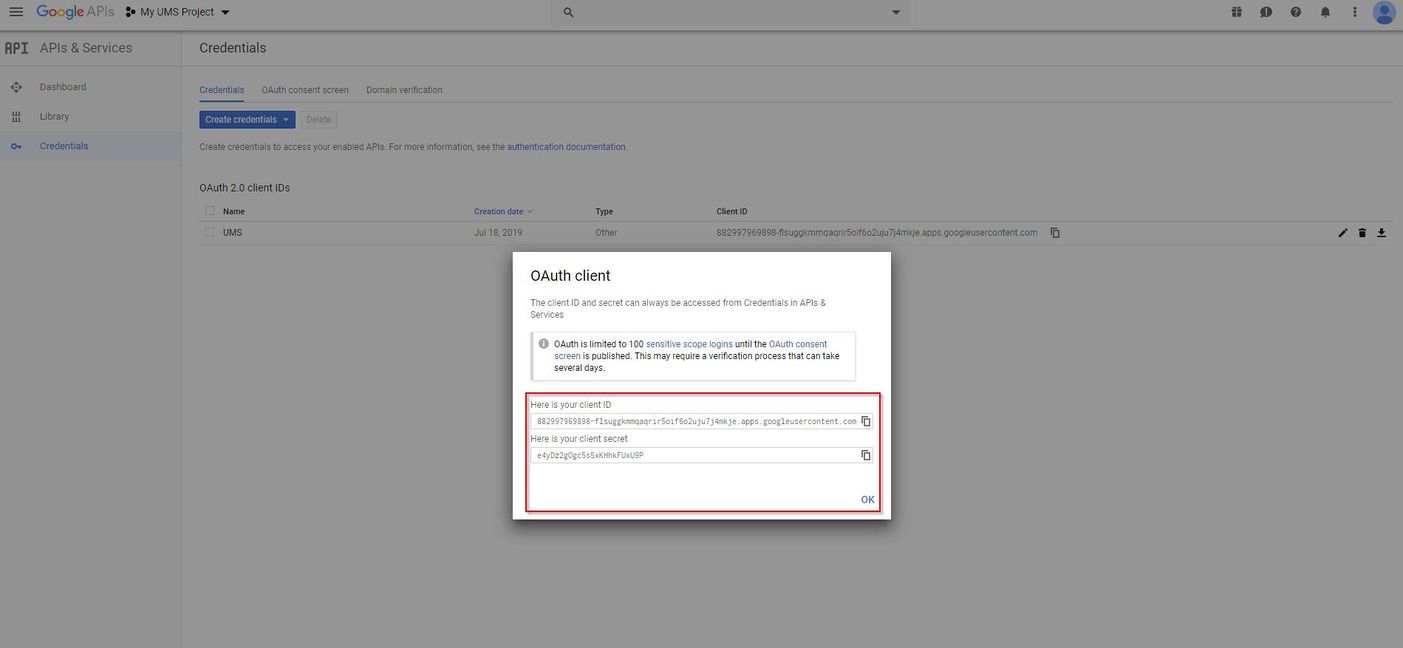
And the "Client ID" and "Client Secret" is to be entered in UMS Configurator
