AD Attributes
AD Attributes givse the ability to insert/maintain database values, from UMS, in Active Directory.
Prerequisites
Supported administrative systems
All
Module requirements
Active Directory required
Testing after setup
Create an AD-Attribute setting with atleast one AD-Attribute value set. Connect the setting to a Template and run RunTemplates. The attribute should now be set in AD.
What to have ready
- UMS must be installed and data from administrative system must be available.
- Access to AD must be available.
Installation
Install UMS.
Technical settings
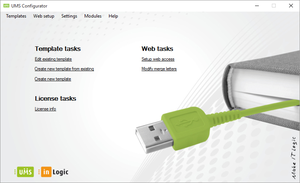
To add AD-Attribute setting in Configurator press “Edit existing template”:
Press “AD Attributes”:
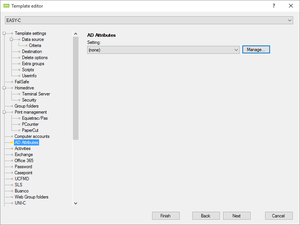
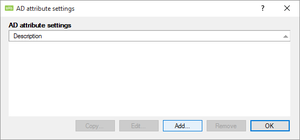
Press “Manage…” followed by “Add…” in the form that pops up.
Add AD-Attributes setting:
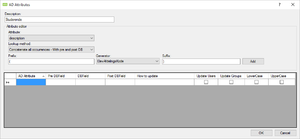
- Description: AD-Attribute setting name.
- Attribute: Active Directory field to be set.
- Lookup method: Method for getting database value, ”First found occurrence”, ”Concatenate all occurrences” or ”Concatenate all occurrences – With pre and post DB”.
- Prefix: Fixed text before database field.
- Generator: Database field to insert, ex. ”STUDIENR” or ”ElevAfdelingsKode”.
- Suffix: Fixed text after database field.
To add attribute to setting, press Add
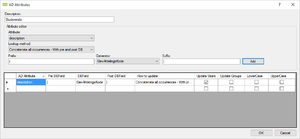
The following options are set after attribute has been added to setting:
- Update Users: The AD-Attribute will be updated everytime RunTemplates runs. Update user only.
- This option is set by default, can be removed.
- Update Groups: AD-Attribute will be updated everytime RunTemplates runs. Update group only.
- LowerCase: All in lower case.
- UpperCase: All in upper case.
When all attributes have been added, press Ok to save the setting, or Cancel to discard changes and exit.
FAQ
How do i delete an AD-Attribute?
If added attribute is wrong or not needed anymore, it can be deleted. Mark the attribute row and press ”Del” on your keyboard. Press “OK” to save and exit.
