Foxbox
Appearance
UMS SMS Modem..
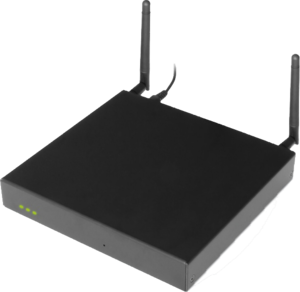
Prepare Modem
System Login
Once modem is prepared and booted (the modem will make a single beep when booted), browse to http://192.168.1.2 and login with USERNAME: admin and PASSWORD: admin
Click “Continue to this website (not recommended)”
Main Page
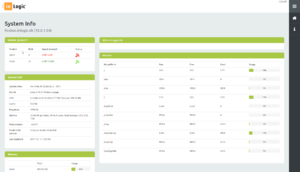
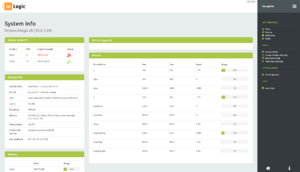
After login the system info page appears.
Shows status of the modem.
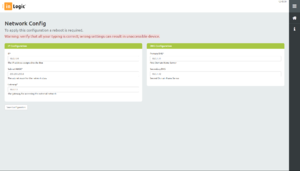
Network Configuration
Click “Network Config” in menu
Change IP settings and press “Save Configuration”, reboot modem on “inLogic Modem Settings” page.
Modem Settings
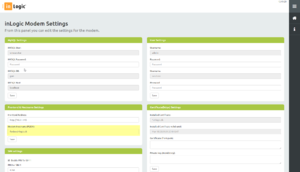
Frontend and Hostname Settings
Hostname
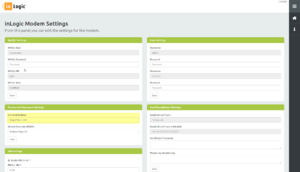
Click “inLogic Modem Settings”
Set Modem Hostname as FQDN.
Scroll down and Click “Save” and the modem will restart.
Frontend
Click “inLogic Modem Settings”
Change FrontEnd Address to fit your configuration.
Scroll down and Click “Save”
