MSGraphPermissions
Setting MSGraph Permissions a long with Azure active directory, OneNote and SharePoint permissions is necessary for UMS to obtain access to the functions needed to create OneNote Class Notebooks and upcoming Teams integration.
Creating App Registration
Go to Azure Portal and login with you admin account( the same UMS uses).
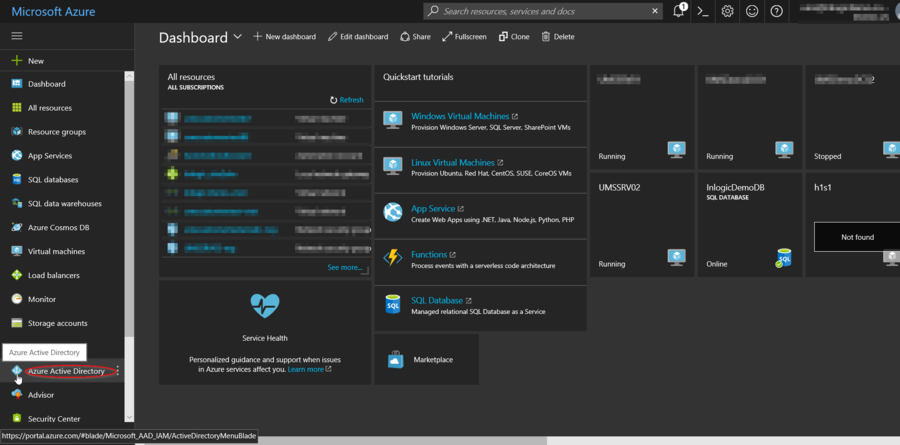
When logged in goto Azure Active Directory:
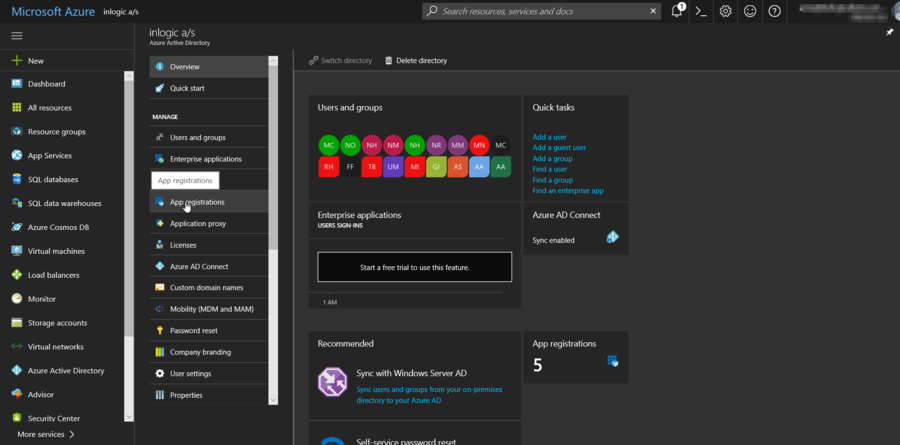
Go to App registrations
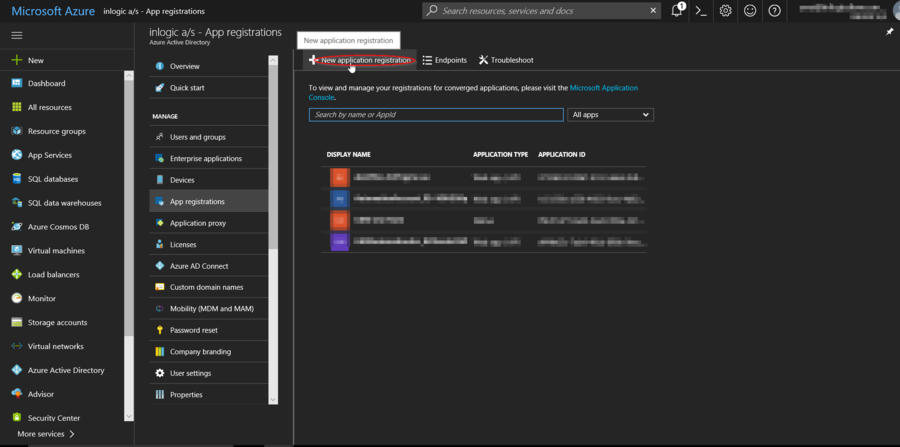
Click on New application registration
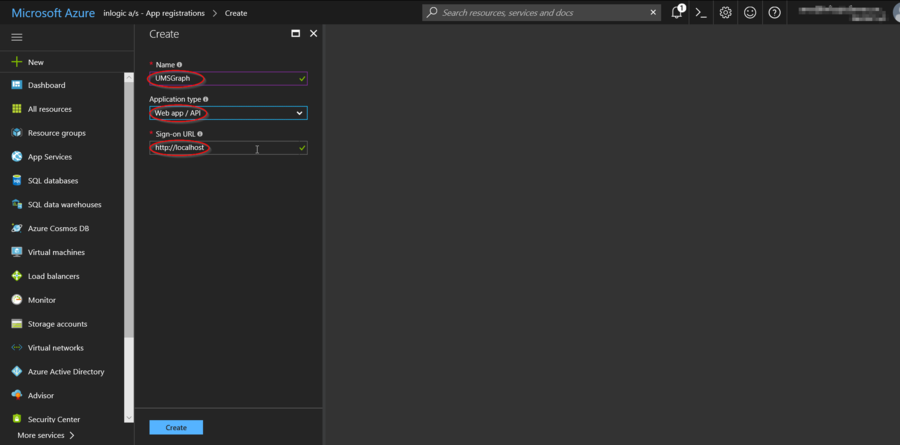
Give the new App a name ex. "UMSGraph", Choose "Web app / API" in Application type, set "Sign-on URL" to "http://localhost". After setting Application Permission values click "Create"
You will return to previous screen, here click "your new app"
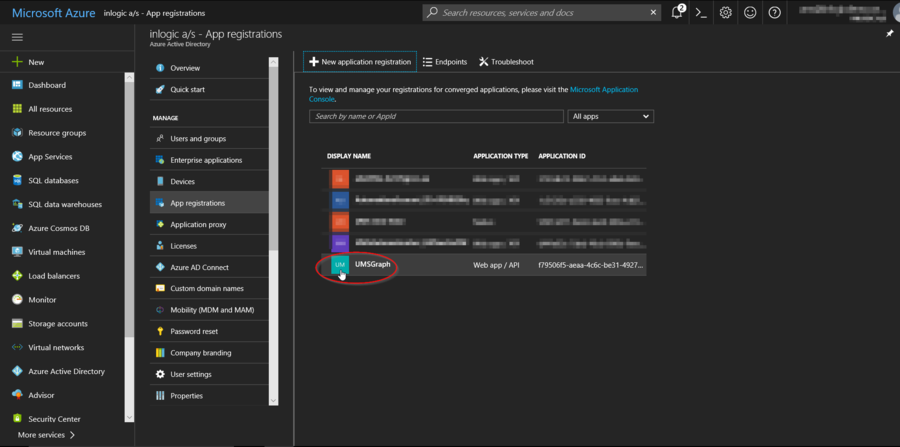
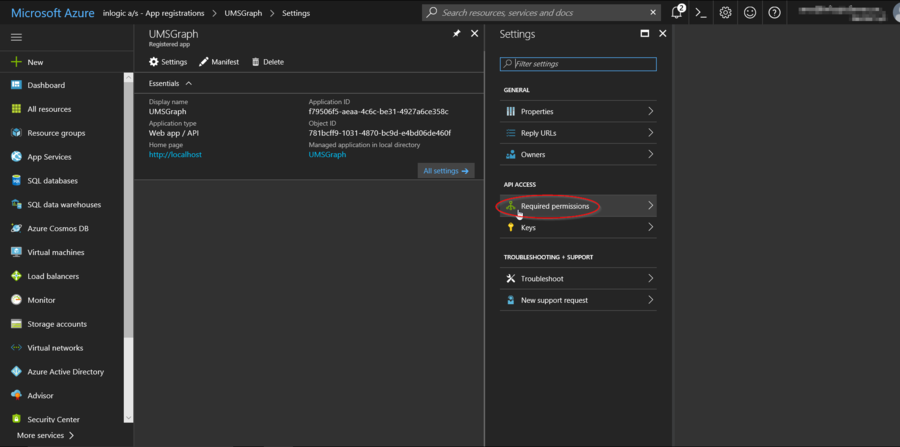
Click "Required permissions"
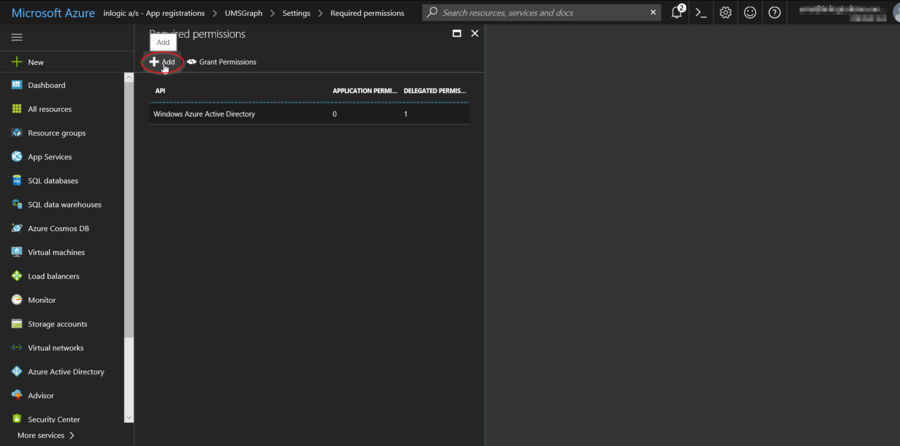
Click "Add"
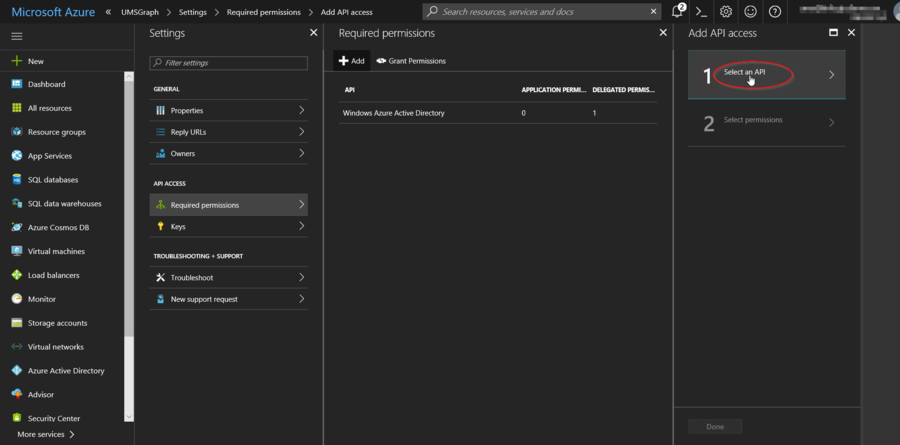
Click "Select an API"
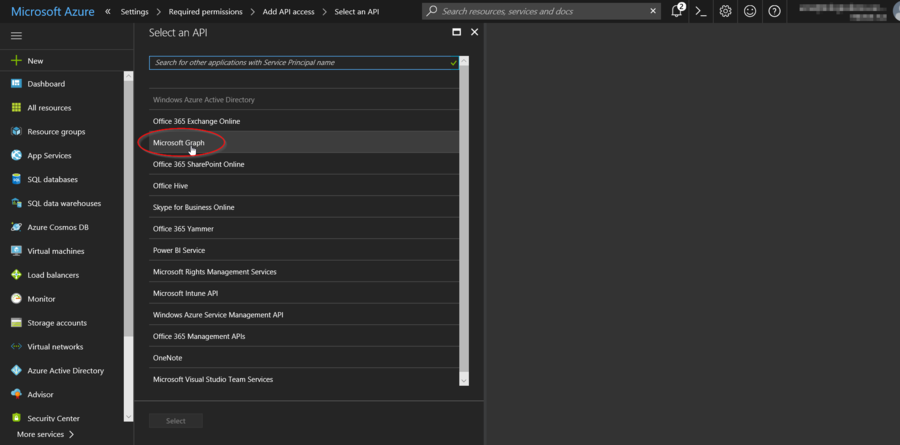
Click "Microsoft Graph"
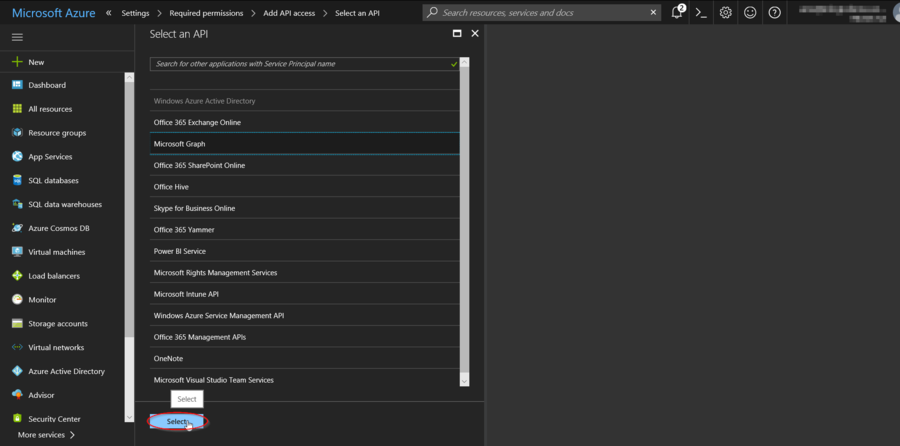
Click "Select"
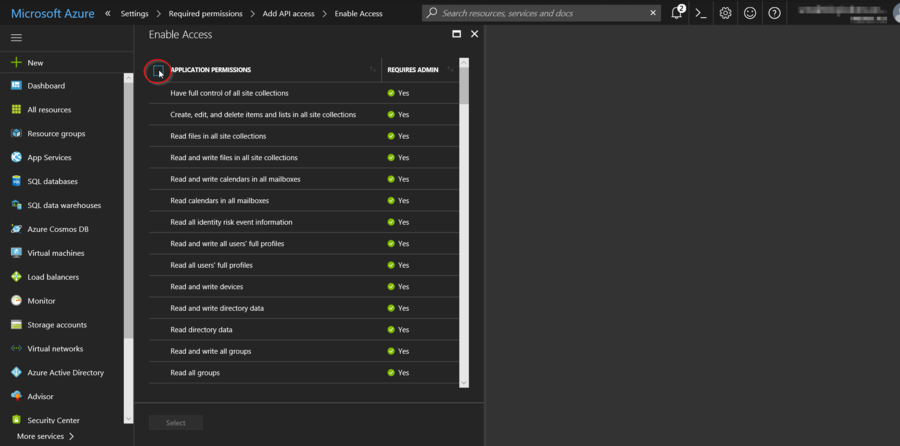
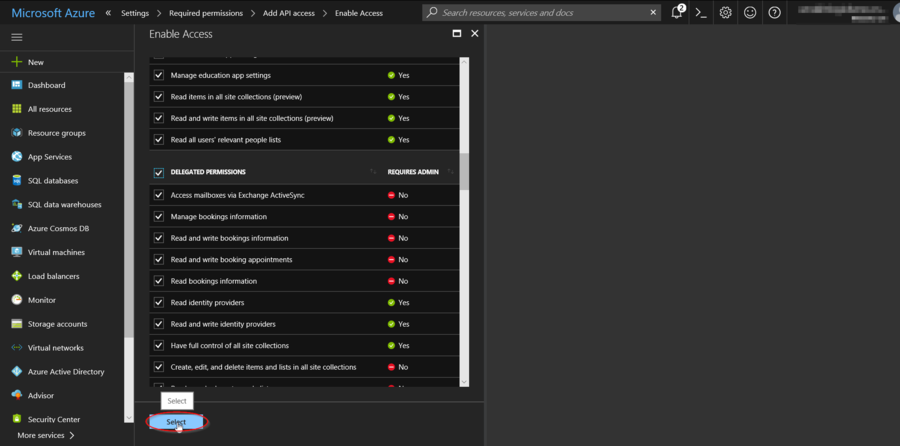
Click the left topmost checkbox next to "APPLICATION PERMISSIONS", and scroll down to next section.
Click the checkbox next to "DELEGATED PERMISSIONS"
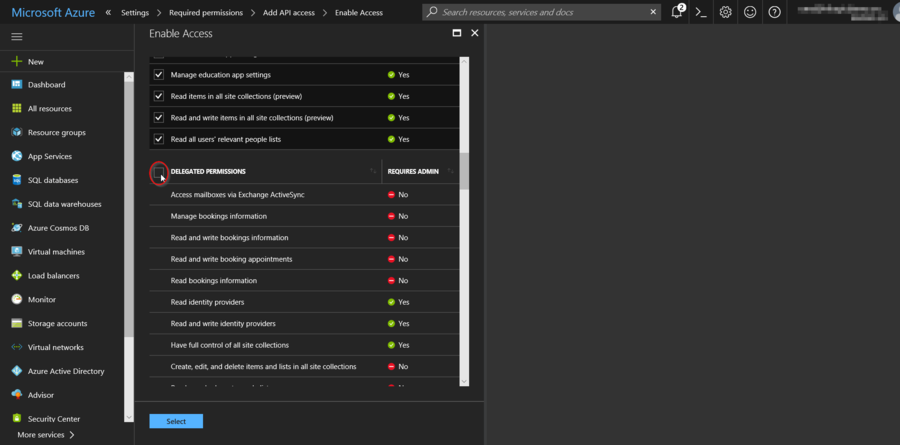
Click "Select"
Click "Done"
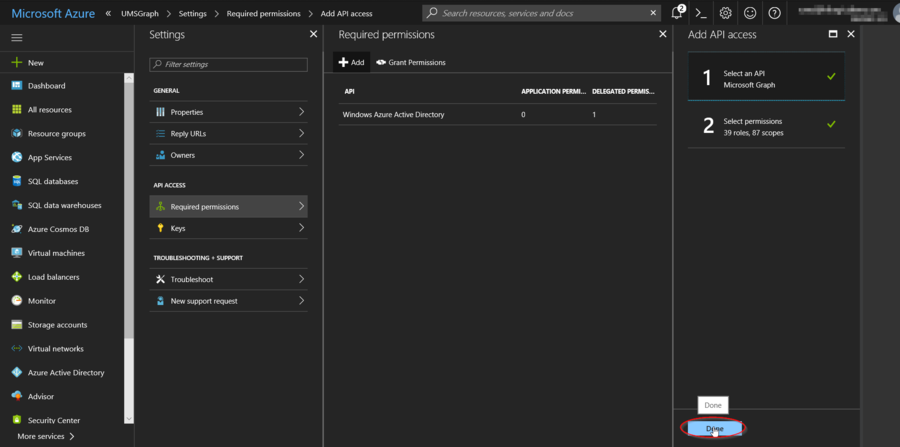
Click "Add" again
Click "Select an API"
Click "Office 365 SharePoint Online"
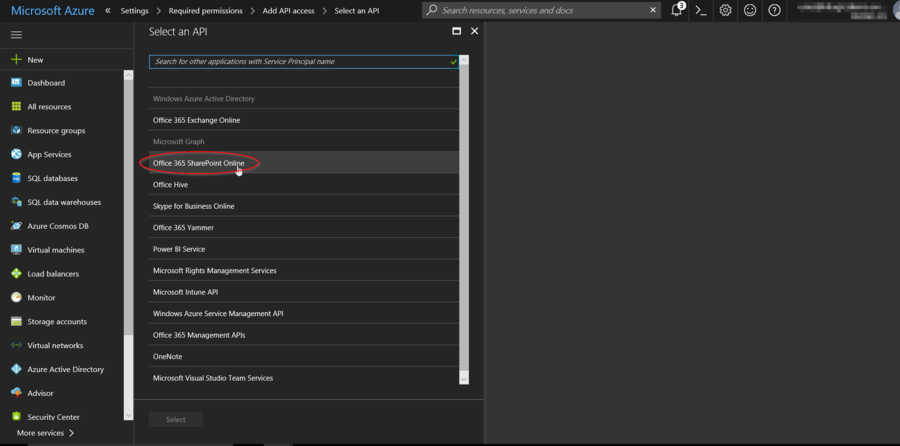
Click "Select", as before - click the checkbox next to "APPLICATION PERMISSIONS" and "DELEGATED PERMISSIONS" and click Select.
Click "Done"
Click "Add" again and "Select an API"
Click "OneNote"
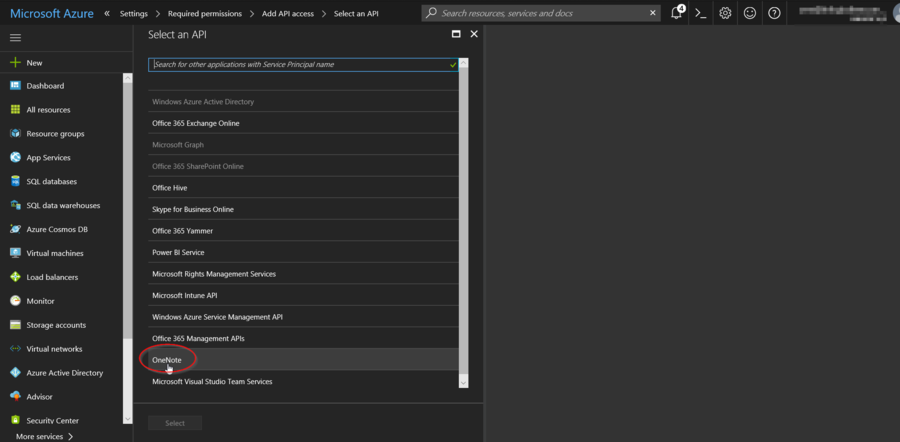
Click "Select", as before - click the checkbox next to "APPLICATION PERMISSIONS" and "DELEGATED PERMISSIONS" and click Select.
Click "Done"
Click "Windows Azure Active Directory" Permission.
Click the checkbox next to "APPLICATION PERMISSIONS" and "DELEGATED PERMISSIONS" and click "Save"
Select "Windows Azure Active Directory"
Click the checkbox next to "APPLICATION PERMISSIONS" and "DELEGATED PERMISSIONS" and click "Save"
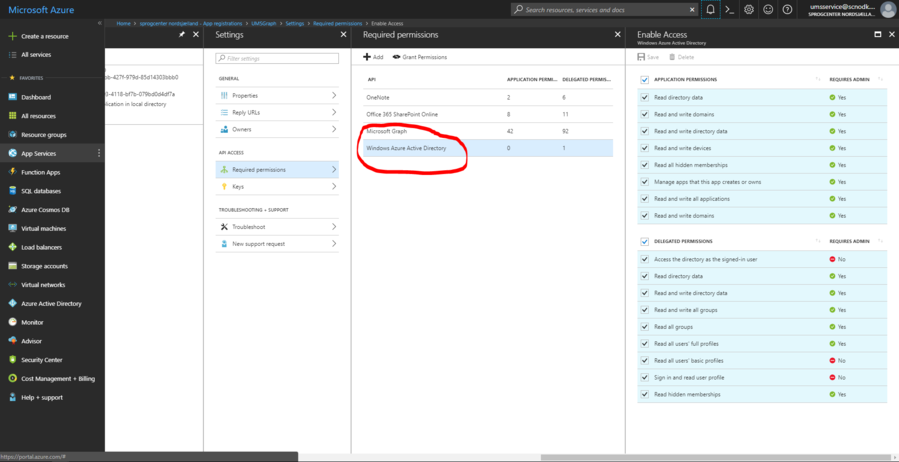
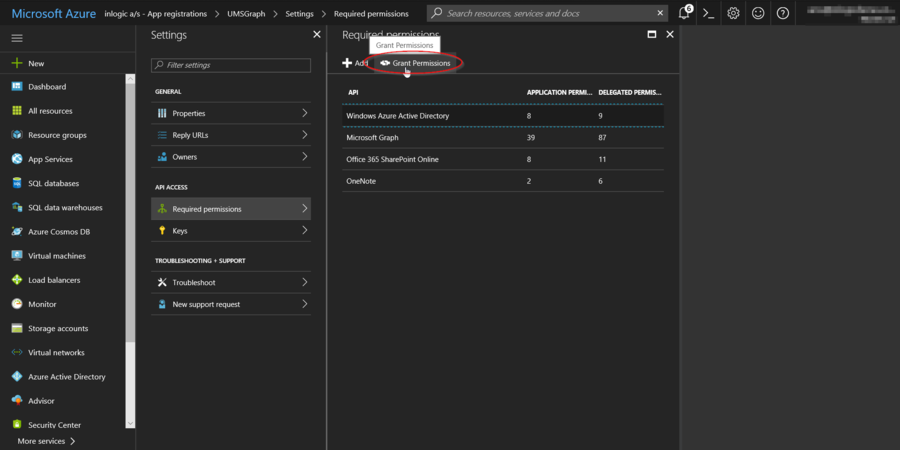
Now click "Grant Permissions"
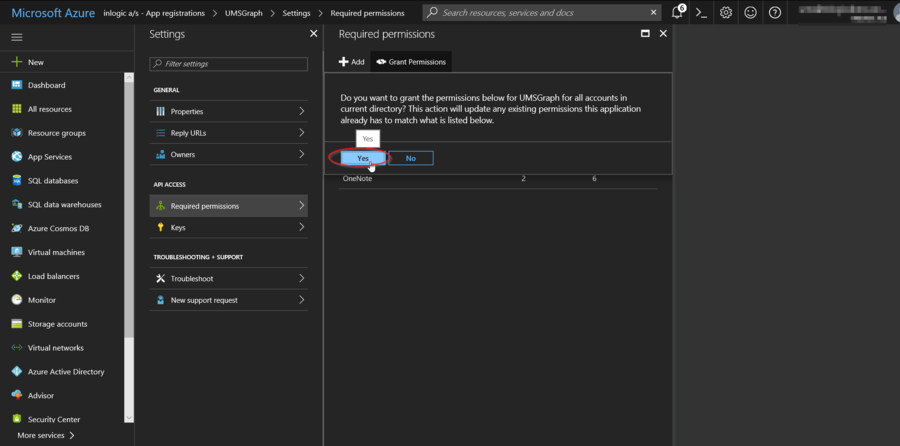
Click "Yes"
Permissions are now set.
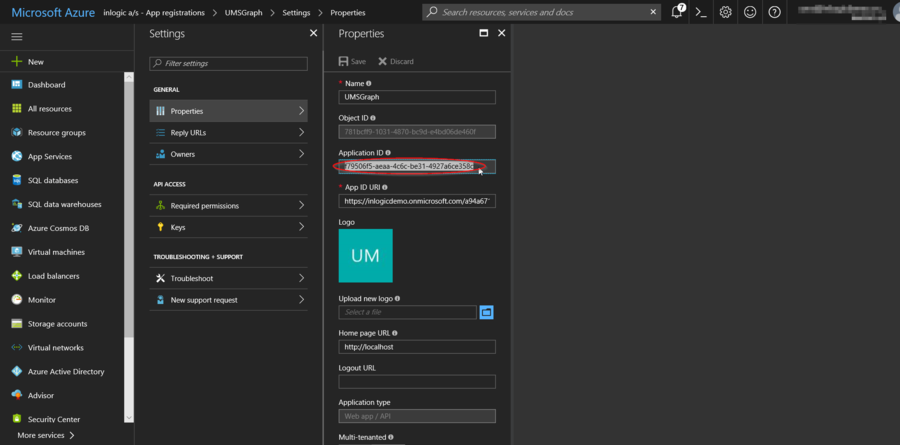
Click "Properties"
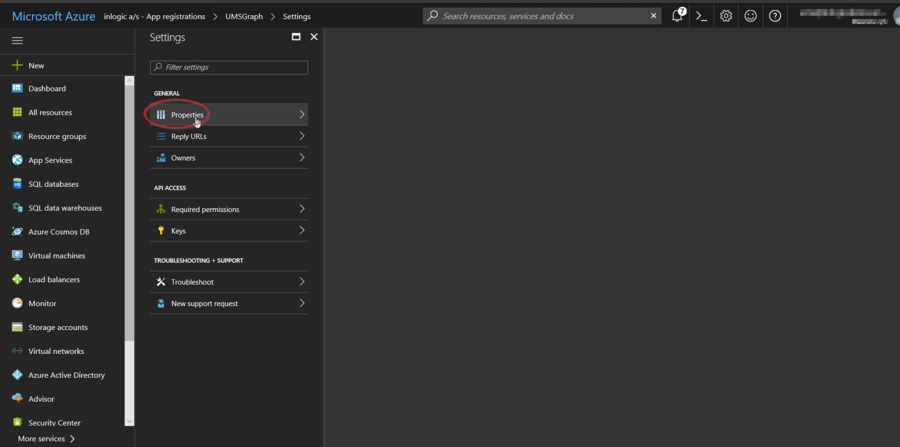
Copy "Application ID" into Configurator (see last Picture) .
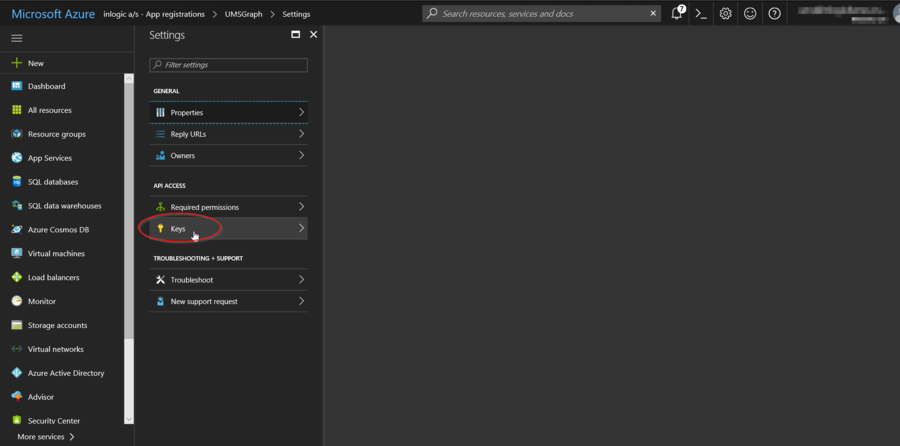
Click "Keys"
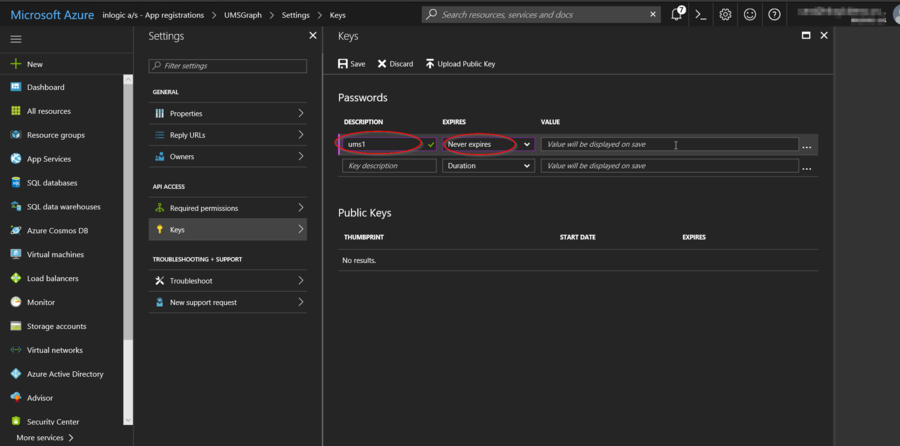
Set "DESCRIPTION" to ex. "UMS1" and choose "Never expires" in the "EXPIRES" Setup dropdown
Click "Save"
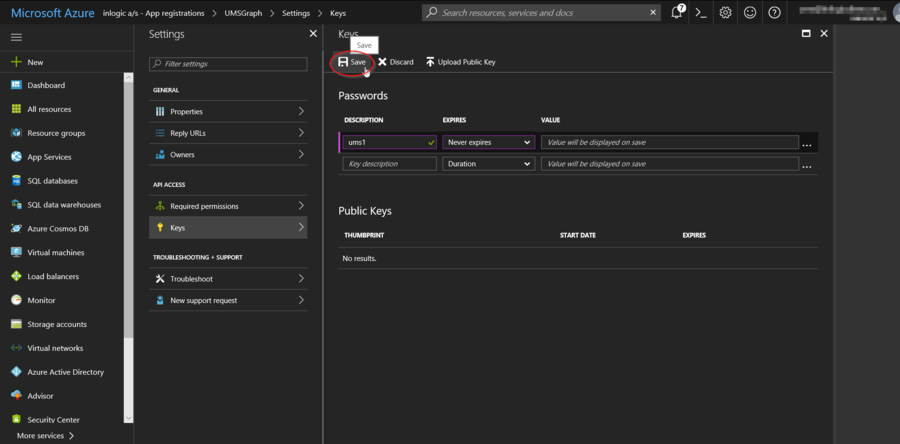
Copy the Key in the "VALUE" into Configurator (see last Picture) !!! ATTENTION !!! the key value will never be visible again so ensure to copy it.
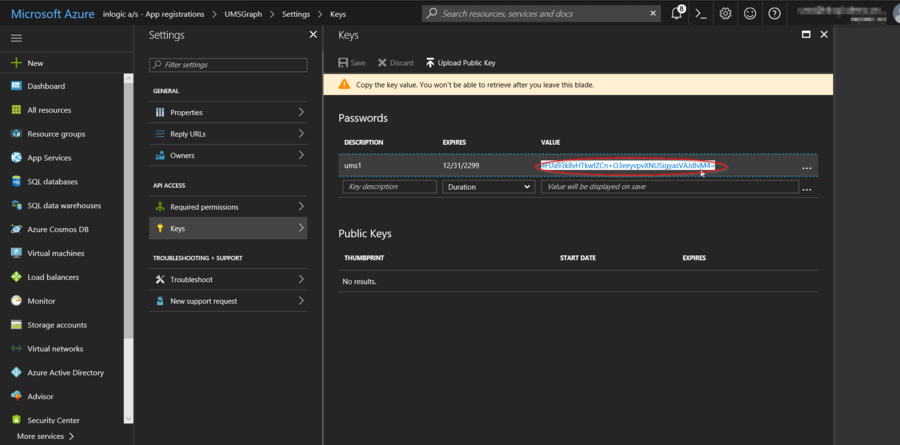
Setup UMS to use Application just Created
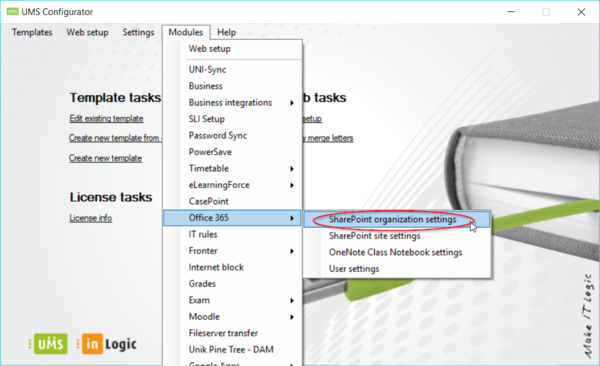
In the UMS Configurator go to Modules->Office 365 and click "SharePoint organization settings"
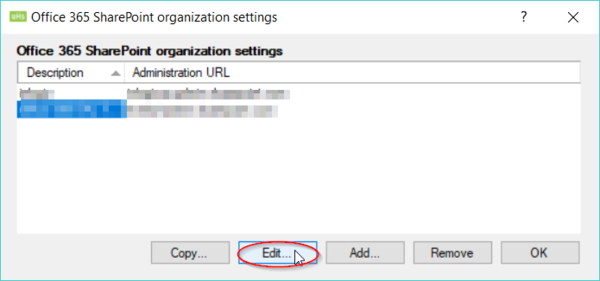
Choose your SharePoint organization setting and click "Edit..."
your "Tenant Name" ex. "cortenso.onmicrosoft.com", paste the previously copied Application ID into "Client ID" field and paste previously copied KEY into "Client secret" and click "Ok"
You are now all set to use the new MS Graph integration.
Permissions overview
| Permission name | Permission type | API | Used for | Used by |
|---|---|---|---|---|
| User.ReadWrite.All | Application | Microsoft Graph | Setting attributes on the user in Office 365 | Live_at_edu.exe |
| Group.ReadWrite.All | Application | Microsoft Graph | Setting group attributes on Office 365 groups | Live_at_edu.exe |
| GroupMember.ReadWrite.All | Application | Microsoft Graph | Manage GroupMembers in Office 365 | Live_at_edu.exe |
| Directory.ReadWrite.All | Application | Microsoft Graph | Setting attributes on the user in Azure Active Directory | Live_at_edu.exe |
| MailboxSettings.ReadWrite | Application | Microsoft Graph | Used to set mailbox settings in Office 365 | Live_at_edu.exe
Skemabrikker.exe |
| Calendars.ReadWrite | Application | Microsoft Graph | Used to allow UMS to sync calendar events to Office 365 | Skemabrikker.exe |
| Permission name | Permission type | API | Used for | Used by |
|---|---|---|---|---|
| EduRoster.ReadWrite.All | Application | Microsoft Graph | Allows the UMS to handle students on roster | Live_at_edu.exe |
| TeamsTab.ReadWrite.All | Application | Microsoft Graph | Used to create tabs in teams | Live_at_edu.exe |
| TeamsAppInstallation.ReadForTeam.All | Application | Microsoft Graph | Used to install app in teams | Live_at_edu.exe |
| Team.Create | Application | Microsoft Graph | Used to create Teams | Live_at_edu.exe |
| Team.ReadBasic.All | Application | Microsoft Graph | Used to read teams | Live_at_edu.exe |