OneNote Class Notebook
Our OneNote Class Notebook integration is developed for schools, which want to avoid manual configuration and maintenance when using OneNote Class Notebook. The integration automatically extracts data from your student administration system and synchronizes it with OneNote Class Notebook, creating Notebooks for students and teachers. This makes it very easy to start using the learning tool in class. Once the configuration is done, teachers and students will get access to a wide range of useful tools. Your OneNote Class Notebooks can be created before the school year starts, giving teachers the opportunity to prepare themselves and upload materials at their own pace. If new students start after the school year has begun they too are automatically created and maintained in OneNote Class Notebook.
Prerequisites
Module requirements
OneNote Class Notebook License
Testing after setup
Running Office 365 sync in UMS
What to have ready
!!REQUIRED!! Make App registration in Azure: Look here
Is any physical item required
No
Should third party be contacted
No
Installation
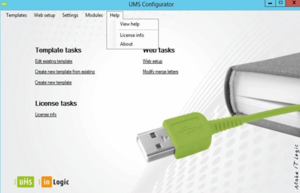
Check OneNote license is active, under "License Info"
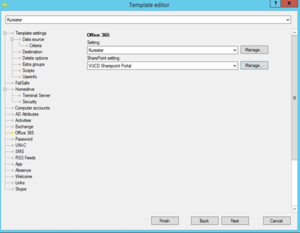
Click on Office 365, Under SharePoint Setting click "Manage"
Click Edit
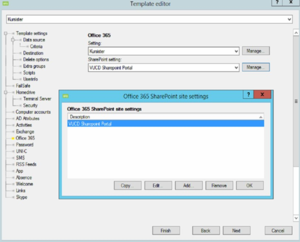
” Office 365 SharePoint Site Settings” Click on” manage”
” OneNote Class Notebook Settings” Click on “add”
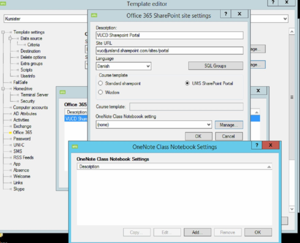
Fill the” Description”
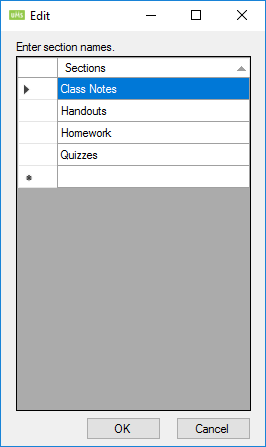
Click on ”Sections” if UMS STANDARD is not selected
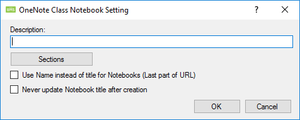
Sections must be filled out if you want other sections than those Inlogic sets Default.
Use Name instead of title for Notebooks (Last part of URL)
This will make the title of the NoteBook be the same as the last part of the URL of the SharePoint site that the NoteBook is created in. It never changes unless this is unchecked.
Never update Notebook title after creation
The NoteBook will never update the title after it has been created, even though the SharePoint site changes title. it will be created with the title that SharePoint site has at createin time.
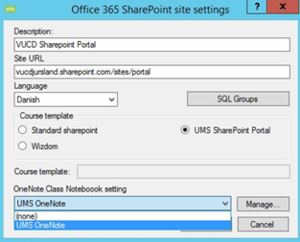
Remember to set "OneNote Class Notebook Setting" to "UMS OneNote
Closing All UMS Configurator window down.
Open CMD as admin.
Browser UserManagement folder.
Run “LiveAtEdu_Sync.exe AddNotebooks2DB”

Open SQL (SSMS) and run a new Query (Select NoteBookID, * From Office365SharePoint_Sites) Note NoteBookID is NULL.
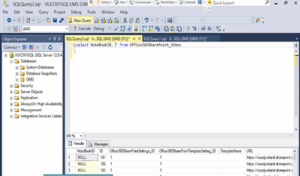
AddNotebooks2sites, If SharePoint is available

Open SQL (SSMS) and run a new Query (Select NoteBookID, * From Office365SharePoint_Sites) Note NoteBookID is NULL.
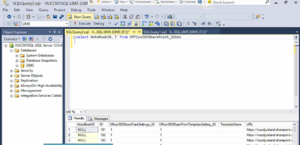
Open log file "LiveAtEdu_Sync.log" in the log you will see that all teams is first created and then students in the teams.
After "LiveAtEdu_Sync OneNoteClassNoteBookOnl" Note the NoteBookID is now complete.
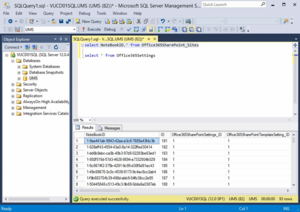
If sharepoint site missing
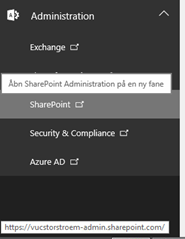
Click on Sharpoint
Click on ”NEW” to create a new sharepoint sites

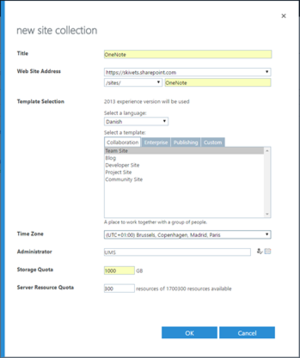
TimeZone: Should be changed to match
Administrator: Is the user you are logged on with, you can check it by clicking on the icon
Double click on the newly created site

Copy the Url

Open UMS Configurator
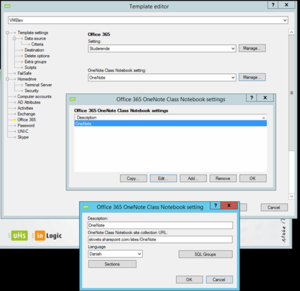
Remember to use the right template
Click on Office365
Click on Manage
Click on Add
Fill out the Description field
Set the copied URL
Sections selected if requested otherwise than UMS default settings.
Open UMS Configurator
1. Click on Office 365
2. Click Manage and (Site Settings)
3. Select "Students" and click "Add"
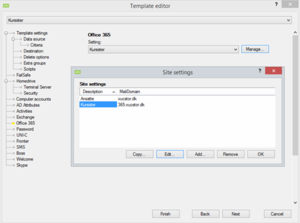
Click under” Organization setting” and choose the created field.
Select "LMS has to be Checked"
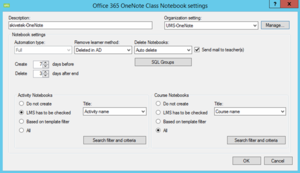
Remember to ACTIVE the “office365 OneNote setting” and click OK
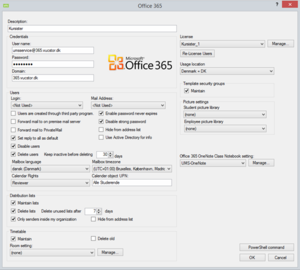
Open CMD as admin.
Brows to UserManagement folder.
Run "LiveAtEdu_Sync.exe AddNotebooks2DB"

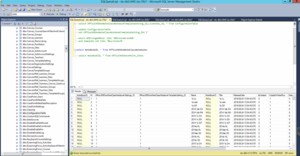
Open SQL SSMS and run a new query (Select NoteBookID, * From Office365OneNoteClassNotebook)
Notice the NoteBookID is NULL.
Open CMD as admin.
Brows to UserManagement folder.
Run "LiveAtEdu_Sync.exe OneNoteClassNoteBookOnly" and open log file "LiveAtEdu_Sync.log" in the log you will see that all teams is first created and then students in the teams.
