Apple Developer Account
This guide describes how to create your Apple Developer Account and give access to inLogic to administrate your app.
Three steps
- The school needs it's own Apple Developer Account
- inLogic needs accesss to Apple Developer Program to create App ID and provisioning profile
- inLogic needs access to App Store Connect to create and continues update the app
Create Apple Developer Account
If you do not have an Apple ID for your organization already, you can follow this guide to create one:
https://appleid.apple.com/account
Note that you can not use the same account if you're running the VPP (Volume Purchase Programme) on it.
After creating your account, you need to enroll for Apple Developer Program. Follow the guide below:
https://developer.apple.com/programs/enroll/
You need to provide the school DUNS number.
- Read about DUNS: https://developer.apple.com/support/D-U-N-S/
- Look up: https://developer.apple.com/enroll/duns-lookup/
- You can also request DUNS number from danish BisNode, who cooperate with Dun&Bradstreet: https://www.bisnode.dk/produkter/db-produkter/db-duns-nummer/#anchor-GetStarted
- It normally takes about 30min for the request to be completed and you'll receive an email with your DUNS number
Add Apple Developer Program User
inLogic will need access to create an App ID and iOS Distribution Provisioning Profiles, before an app can be build and bound to your Apple Developer Account.
Indepth information about the Apple Developer Program Team Roles: https://developer.apple.com/support/roles/
Go to: https://developer.apple.com/account/#/people/
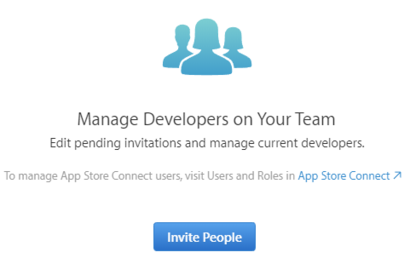
Click 'Invite People'
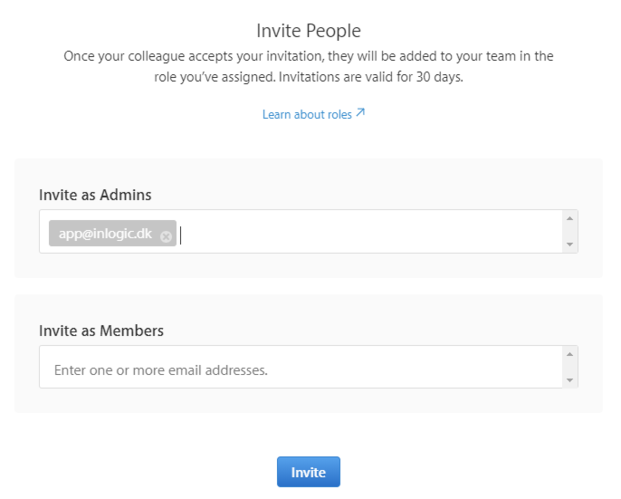
Fill out 'Invite as Admins' and click invite
Now you should see a Pending invitation.
Please inform inLogic that an invite has been sent.

Add App Store Connect User
inLogic will need access to be able to create and upload new updates for your app. You do so by adding our account as 'another App Store Connect User'.
Go to https://appstoreconnect.apple.com/
Select 'Users and Roles'.
Select the plus icon.

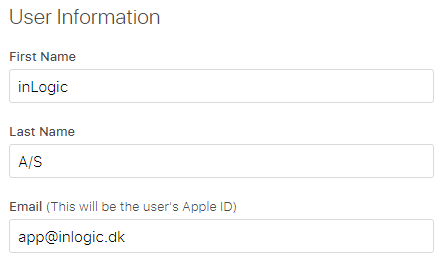
Fill in the 'User Information' with the following information and click 'Next'.
Check the role 'App Manager' and make sure that access is given to 'All apps'. You can also give limited access to apps in case there are apps inLogic do not need access to.
Select Next

For App Status Reports select 'All Territories' and click 'Save'.

You will now see that a confirmation email has been sent to inLogic.
Please inform inLogic that an invite has been sent.

Move app from inLogic account to your own
You need to provide the following information to inLogic:
- Team ID (Located here: https://developer.apple.com/account/#/membership/)
- Apple ID (email)
Once the process has started both parties need to accept the transfer agreement.
From Apple: "Once an app transfer has been requested, the recipient's Team Agent has 60 days from the day initiated to accept the request. Contracts that have not been accepted within 60 days will be canceled. App transfers can take up to two business days to complete, depending on an export compliance review."
Log into https://appstoreconnect.apple.com/
You'll get this. The Team Agent needs to accept the agreement.

When you accept the app you'll be asked to fill out some question. These questions is some general information.
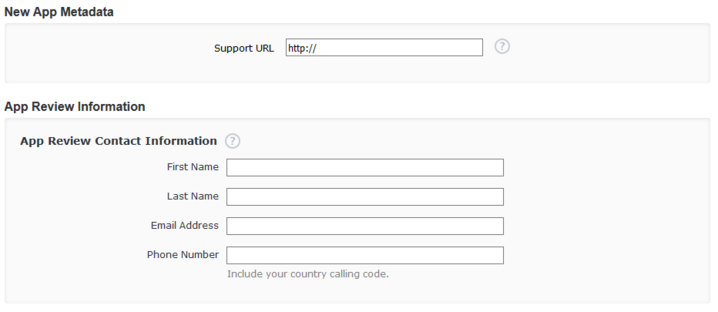
New App Metadata: Support URL should link to e.g. schools url, contact page or hosting center.
App Review Contact Information: Insert the information for the person who is responsible for the Apple account or the person who should be in control of the communication with app testers.
