Foxbox: Difference between revisions
No edit summary |
No edit summary |
||
| Line 194: | Line 194: | ||
If you use notepad to open the certificate, you should see something like this | If you use notepad to open the certificate, you should see something like this | ||
-----BEGIN CERTIFICATE----- | -----BEGIN CERTIFICATE----- | ||
Lots of data here... | Lots of data here... | ||
-----END CERTIFICATE----- | -----END CERTIFICATE----- | ||
When you open the private key certificate it should look some what similar to this. | When you open the private key certificate it should look some what similar to this. | ||
-----BEGIN RSA PRIVATE KEY----- | -----BEGIN RSA PRIVATE KEY----- | ||
Lots of data here... | Lots of data here... | ||
-----END RSA PRIVATE KEY----- | -----END RSA PRIVATE KEY----- | ||
Or something like this | Or something like this | ||
-----BEGIN PRIVATE KEY----- | -----BEGIN PRIVATE KEY----- | ||
Lots of data here... | Lots of data here... | ||
-----END PRIVATE KEY----- | -----END PRIVATE KEY----- | ||
Now create a new txt file in a folder, copy the content of the private key into the file. | Now create a new txt file in a folder, copy the content of the private key into the file. | ||
| Line 216: | Line 210: | ||
Your file should look something like this: | Your file should look something like this: | ||
-----BEGIN PRIVATE KEY----- | -----BEGIN PRIVATE KEY----- | ||
MIIEvQIBAD... | MIIEvQIBAD... | ||
-----END PRIVATE KEY----- | -----END PRIVATE KEY----- | ||
-----BEGIN CERTIFICATE----- | -----BEGIN CERTIFICATE----- | ||
MIICsjCCAZqgAw... | MIICsjCCAZqgAw... | ||
-----END CERTIFICATE----- | -----END CERTIFICATE----- | ||
Now save the file by selecting all files types instead of txt and name the file certificate.pem | Now save the file by selecting all files types instead of txt and name the file certificate.pem | ||
Revision as of 10:45, 24 January 2019
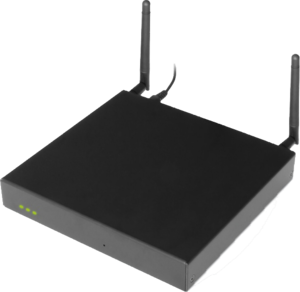
UMS SMS Modem.. ( Certificate is required for use of Modem )
Network Port Openings
TCP port openings from server to modem.
| Port | Usage |
|---|---|
| 22 | SSH access |
| 80 | HTTP access |
| 443 | HTTPS access |
| 3306 | Database access |
TCP port openings from modem to server.
| Port | Usage |
|---|---|
| 80 | HTTP access |
| 443 | HTTPS access |
Prepare Modem
System Login
Once modem is prepared and booted (the modem will make a single beep when booted), browse to http://192.168.1.2 and click login in upper right corner.

Login box will popup, and here login with USERNAME: admin and PASSWORD: admin
Main Page
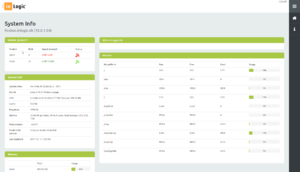
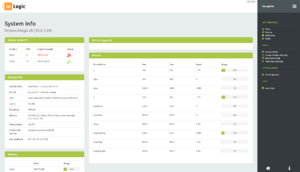
After login the system info page appears.
Shows status of the modem.
Network Configuration
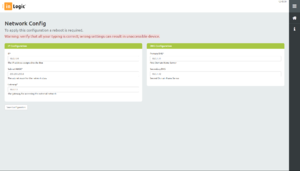
Click “Network Config” in menu
Change IP settings and press “Save Configuration”, Reboot modem on “inLogic Modem Settings” page.
Modem Settings
Frontend and Hostname Settings
Hostname
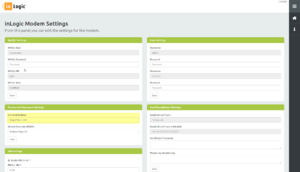
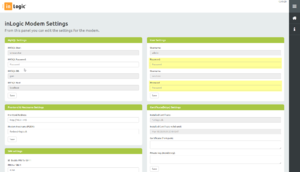
Click “inLogic Modem Settings”
Set Modem Hostname as FQDN.
Scroll down and Click “Save” and the modem will restart.
Frontend
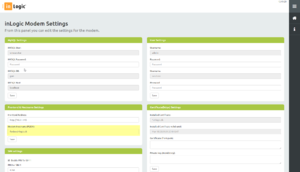
Click “inLogic Modem Settings”
Change FrontEnd Address to fit your configuration.
Scroll down and Click “Save”
Certificate(https) Settings
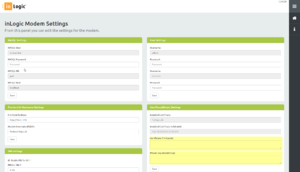
Click “inLogic Modem Settings” and scroll down to “Certificate(https) Settings”
Copy/Paste Certificate from .crt or .pem file into Certificate box (incl. the “-----BEGIN CERTIFICATE-----” and “-----END CERTIFICATE-----” lines).
Copy/Paste Private key into Private key box (incl. the “-----BEGIN RSA PRIVATE KEY-----“ and “-----END RSA PRIVATE KEY-----” lines). Click “Save” and the modem will restart.
User Settings
In the menu click “inLogic Modem Settings” and scroll down to “User Settings”
To change default admin user password (default “admin”), write new password in Password box just below admin username.
To change default sendsms user password (default “sendsms”), write new password in Password box just below sendsms username.
Click “Save” to confirm password change.
SIM Settings
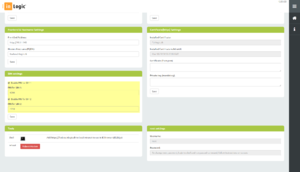
In the menu click “inLogic Modem Settings” and scroll down to “SIM Settings”
Enable / Disable PIN for modems and set PIN if needed.
Click “Save”. After save Click Reboot.
Control Panel
In the menu click "Control Panel".
Use Control Panel to see State of SMS Engine, turn on/off SMS Engine.

SMS
Inbox
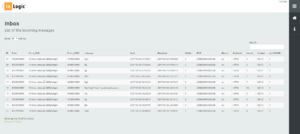
Click “Inbox” in menu to see a log of incoming messages.
Outbox
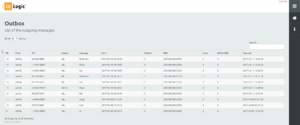
Click “Outbox” in menu to see a log of outgoing messages.
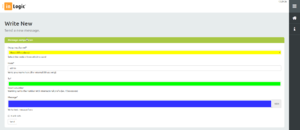
Write New
Click “Write New” in menu to see a log of outgoing messages.
Choose what modem to send from or leave as is to choose first free modem.
Insert mobile phone number to send to. (international prefix is mandatory)
Write text to send.
Click “Send” to continue.
Time Zone Settings
Time zone and NTP server settings
For External NTP servers check Enable External NTP (default) and choose External NTP Region (Default Europe)
For Internal NTP, uncheck Enable External NTP and write comma separated list of NTP servers in Internal NTP textbox.
To set your Time Zone, click Time Zone dropdown and choose your zone.
Click Save to change configuration.

Tools
Click "inLogic Modem Settings" in menu and go to bottom of page.
Shell
In browser shell to change advanced settings (USE with caution)
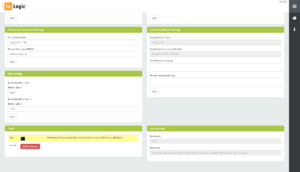
Reboot
Reboot modem.
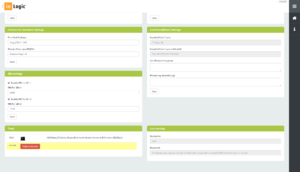
Root Settings
Change of root password requires login to shell.
Login to shell, run passwd command and follow instructions on screen.
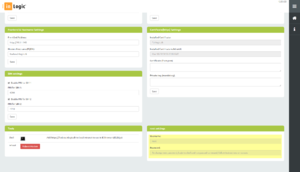
Update certificate
Step one
Make sure you have the certificate as a . crt or .pem file. You should have a certificate with a private key. Some providers send 2 or more files contain this. To handle the certificate, we need to extra the information from the certificate and private key – and combine these two into one certificate.
If you use notepad to open the certificate, you should see something like this
-----BEGIN CERTIFICATE-----
Lots of data here...
-----END CERTIFICATE-----
When you open the private key certificate it should look some what similar to this.
-----BEGIN RSA PRIVATE KEY-----
Lots of data here...
-----END RSA PRIVATE KEY-----
Or something like this
-----BEGIN PRIVATE KEY-----
Lots of data here...
-----END PRIVATE KEY-----
Now create a new txt file in a folder, copy the content of the private key into the file.
After that open the certificate file and copy the content and paste it after the private key.
Your file should look something like this:
-----BEGIN PRIVATE KEY-----
MIIEvQIBAD...
-----END PRIVATE KEY-----
-----BEGIN CERTIFICATE-----
MIICsjCCAZqgAw...
-----END CERTIFICATE-----
Now save the file by selecting all files types instead of txt and name the file certificate.pem
Steep two - installation
To install the certificate, you will need FTP software, you can freely select any of these
After that connect to the foxbox using the IP address of the server. I’m using FileZilla for this example.
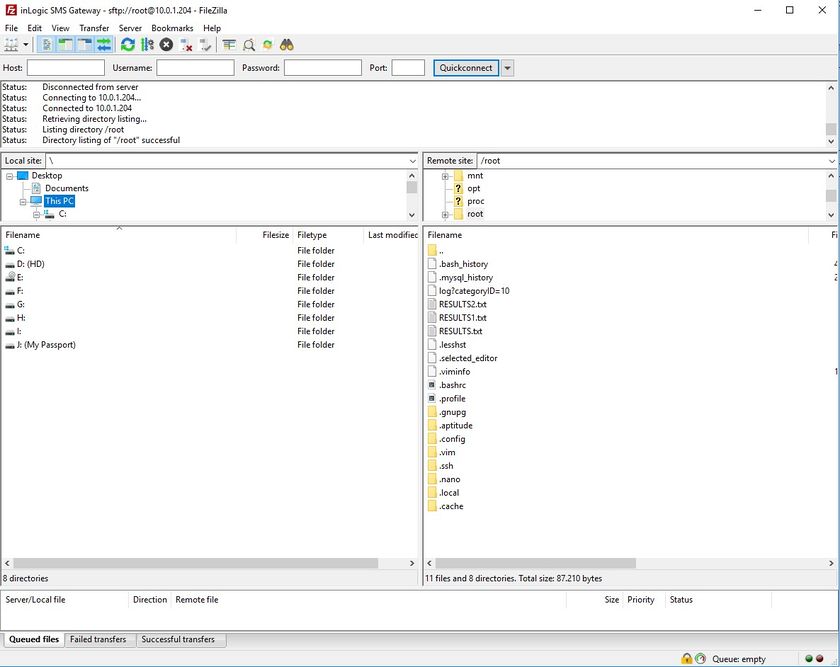 When the client has connected, and you get the folder view, you can navigate to /etc/sms/scripts, this can be done but using the folder view to navigate back and into the path or you can simple paste the path into remote site bar and press enter.
Now you should be able to locate the certificate.pem file inside the folder to verify you’re at the correct path.
Now navigate the local file view to the new certificate that we created inside step 1 and upload it to the foxbox.
Steep three
Now open or download the SSH client program, i’m using putty for this example.
When you have the ssh client opened, please connect using the IP address of the foxbox server.
When you are connected please use the root user to login as it’s the only user with permissions to restart the apache server.
To restart the apache server enter:
/etc/init.d/apache2 restart
And press enter.
When the service is restarted successfully, there should appear a green text with the text OK, if unsuccessful the text will be written in red contain the error message.
Now go the url of the foxbox and verify the certificate has been changed and is valid.
Extra information
Extra information about the product, users and programs used in the tutorial.
Usernames and passwords
SSH Clients
