Foxbox: Difference between revisions
| Line 127: | Line 127: | ||
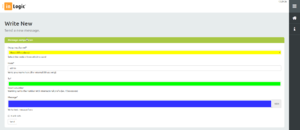
<span style="background-color: #FFFF00">Choose what modem to send from or leave as is to choose first free modem.</span> | <span style="background-color: #FFFF00">Choose what modem to send from or leave as is to choose first free modem.</span> | ||
<span style="background-color: # | <span style="background-color: #00FF00">Insert mobile phone number to send to. (international prefix is mandatory)</span> | ||
<span style="background-color: # | <span style="background-color: #0000FF; color: #FFFFFF">Write text to send.</span> | ||
Click “Send” to continue. | Click “Send” to continue. | ||
[[File:Foxbox Write New.png|none|thumb]] | [[File:Foxbox Write New.png|none|thumb]] | ||
__FORCETOC__ | __FORCETOC__ | ||
Revision as of 22:28, 8 March 2017
UMS SMS Modem..
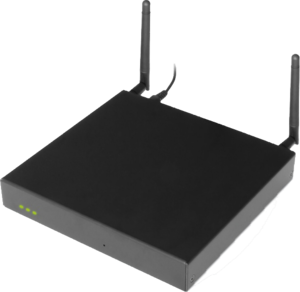
Prepare Modem
System Login
Once modem is prepared and booted (the modem will make a single beep when booted), browse to http://192.168.1.2 and login with USERNAME: admin and PASSWORD: admin
Click “Continue to this website (not recommended)”
Main Page
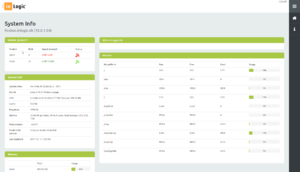
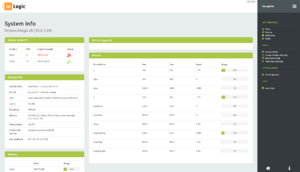
After login the system info page appears.
Shows status of the modem.
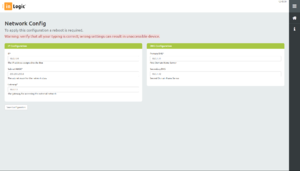
Network Configuration
Click “Network Config” in menu
Change IP settings and press “Save Configuration”, [:File://file.inlogic.dk/Salg/Brugermanualer/NewSheets/Moduler/FoxBox/Slutbruger manual/EndUser.docx# Reboot reboot] modem on “inLogic Modem Settings” page.
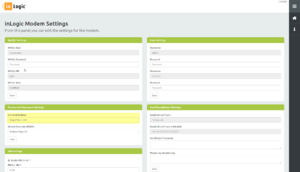
Modem Settings
Frontend and Hostname Settings
Hostname
Click “inLogic Modem Settings”
Set Modem Hostname as FQDN.
Scroll down and Click “Save” and the modem will restart.
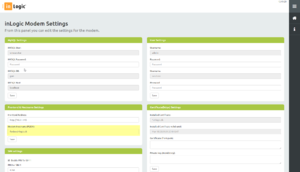
Frontend
Click “inLogic Modem Settings”
Change FrontEnd Address to fit your configuration.
Scroll down and Click “Save”
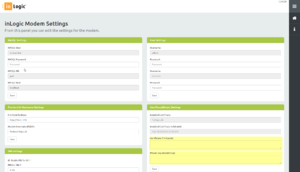
Certificate(https) Settings
Click “inLogic Modem Settings” and scroll down to “Certificate(https) Settings”
Copy/Paste Certificate from .crt or .pem file into Certificate box (incl. the “-----BEGIN CERTIFICATE-----” and “-----END CERTIFICATE-----” lines).
Copy/Paste Private key into Private key box (incl. the “-----BEGIN RSA PRIVATE KEY-----“ and “-----END RSA PRIVATE KEY-----” lines). Click “Save” and the modem will restart.
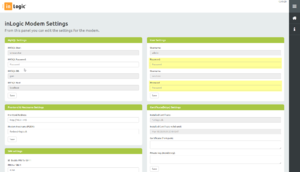
User Settings
In the menu click “inLogic Modem Settings” and scroll down to “User Settings”
To change default admin user password (default “admin”), write new password in Password box just below admin username.
To change default sendsms user password (default “sendsms”), write new password in Password box just below sendsms username.
Click “Save” to confirm password change.
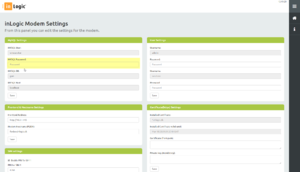
MySQL Settings
In the menu click “inLogic Modem Settings” and scroll down to “MySQL Settings”
To change default umsservice user password (default “admin”), write new password in Password box just below umsservice.
Scroll down and click “Save” to confirm password change.
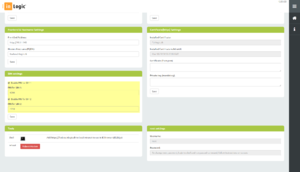
SIM Settings
In the menu click “inLogic Modem Settings” and scroll down to “SIM Settings”
Enable / Disable PIN for modems and set PIN if needed.
Click “Save”. After save Click [:File://file.inlogic.dk/Salg/Brugermanualer/NewSheets/Moduler/FoxBox/Slutbruger manual/EndUser.docx# Reboot Reboot].
Control Panel
In the menu click "Control Panel".
Use Control Panel to see State of SMS Engine, turn on/off SMS Engine.

SMS
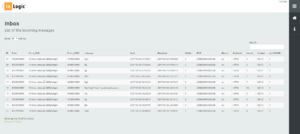
Inbox
Click “Inbox” in menu to see a log of incoming messages.
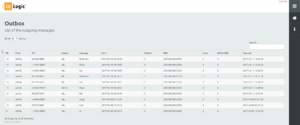
Outbox
Click “Outbox” in menu to see a log of outgoing messages.
Write New
Click “Write New” in menu to see a log of outgoing messages.
Choose what modem to send from or leave as is to choose first free modem.
Insert mobile phone number to send to. (international prefix is mandatory)
Write text to send.
Click “Send” to continue.
