STIL Settings Roles: Difference between revisions
STIL SETTINGS |
|||
| Line 43: | Line 43: | ||
* It is possible to choose different institution numbers. | * It is possible to choose different institution numbers. | ||
* Search for user to be assigned roles[[File:STIL SETTING 3.png|none|thumb|895x895px]]<br /> | * Search for user to be assigned roles[[File:STIL SETTING 3.png|none|thumb|895x895px]]<br /> | ||
* Assign different roles[[File:STIL SETTING.png|none|thumb|891x891px]] | * Assign different roles[[File:STIL SETTING.png|none|thumb|891x891px]] | ||
== FAQ: == | |||
=== When can you see that the changes has been applied? === | |||
To verify that the changes have been made, you need to open up the Services program on your backend server and restart the service called "UMS License". | |||
From the Configurator, under Template Settings - STIL Settings - You can activate the setting "Generate XML" and then run a GetStudents to give you an XML file which you can search in to see if the person has been added to the upload correctly. | |||
Latest revision as of 10:07, 6 May 2025
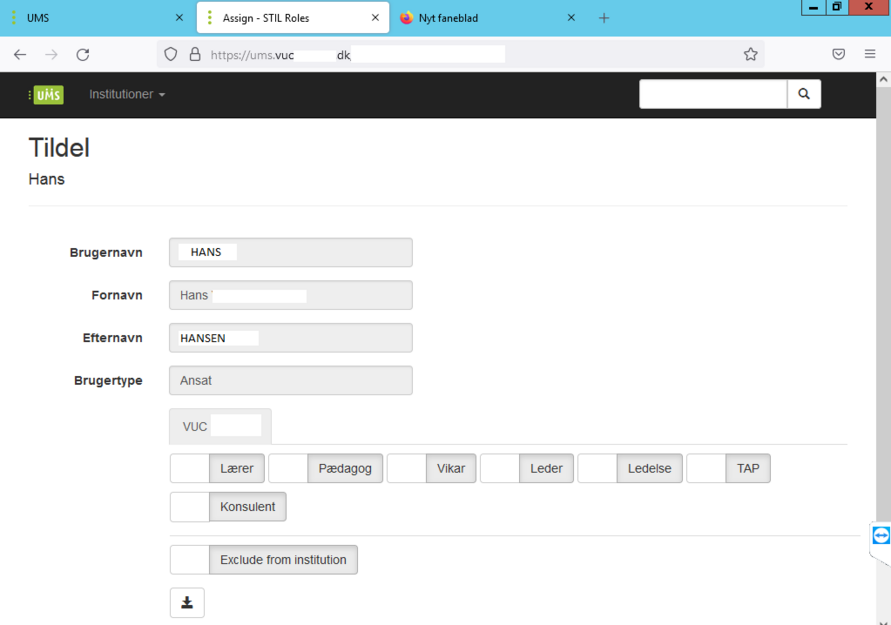
The module allows you to set one or more roles for users in STIL. Roles as (Teacher, Pedagogue, Leader, Management, TAP, Consultant )
Provides the ability to associate a person with an institution that the person is not associated with in the normal data features of the administrative system
Prerequisites
Module Requirements
- UMS
- UMS Frontend
- STIL SYNC
Installation
This module is already installed with the standard UMS installation. The UMS license will give you access to STIL settings.
Technical settings[edit | edit source]
- Update the UMS license on the frontend server and backend server that you received from inlogic with STIL Settings. (UMS License Install)
- Create an Active Directory group. Add these users to the group that need access to add STIL roles
- Select a UMS template.
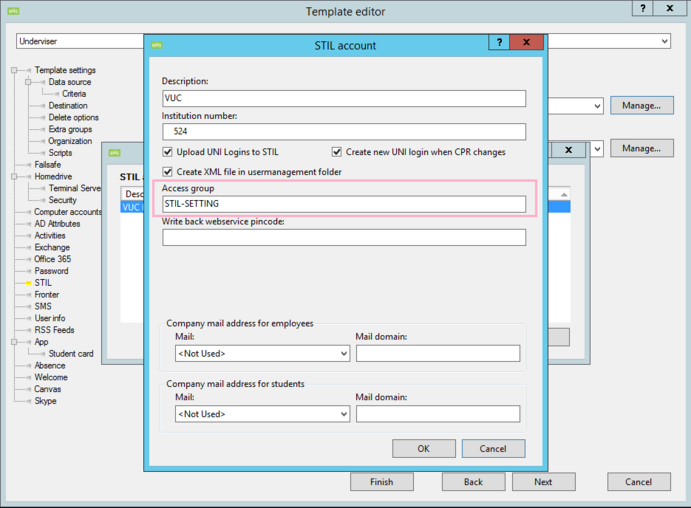
- Click on STIL.
- Click on Manage ( Account setting )

- Add the new Active Directory group to (Access group)
- Login to UMS portal.
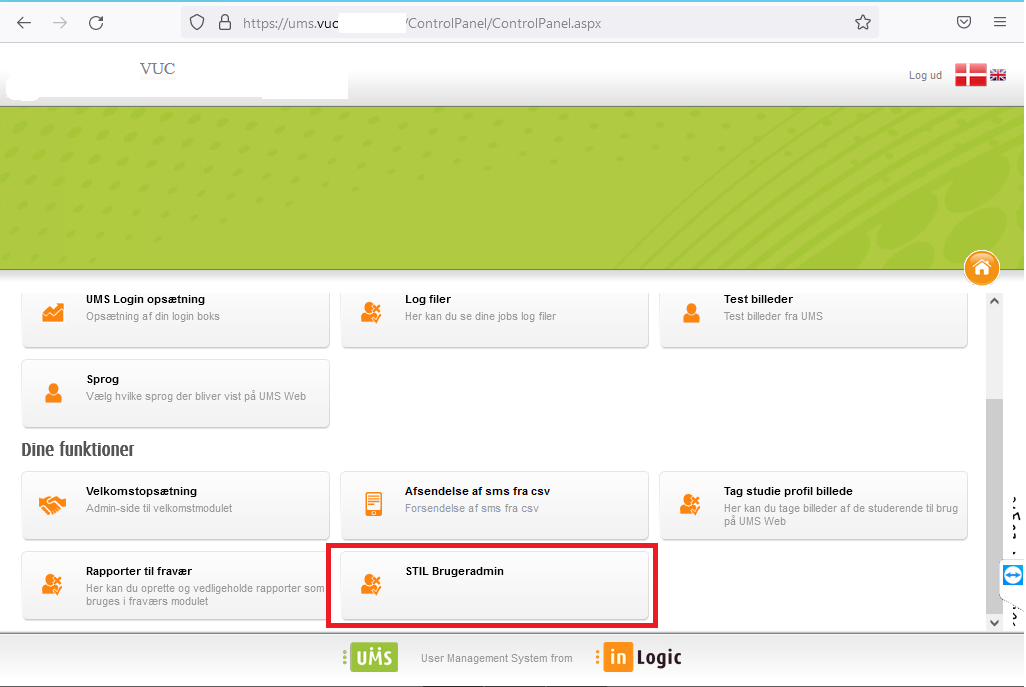
- Click on control panel
- Click on STIL (BrugerAdmin)


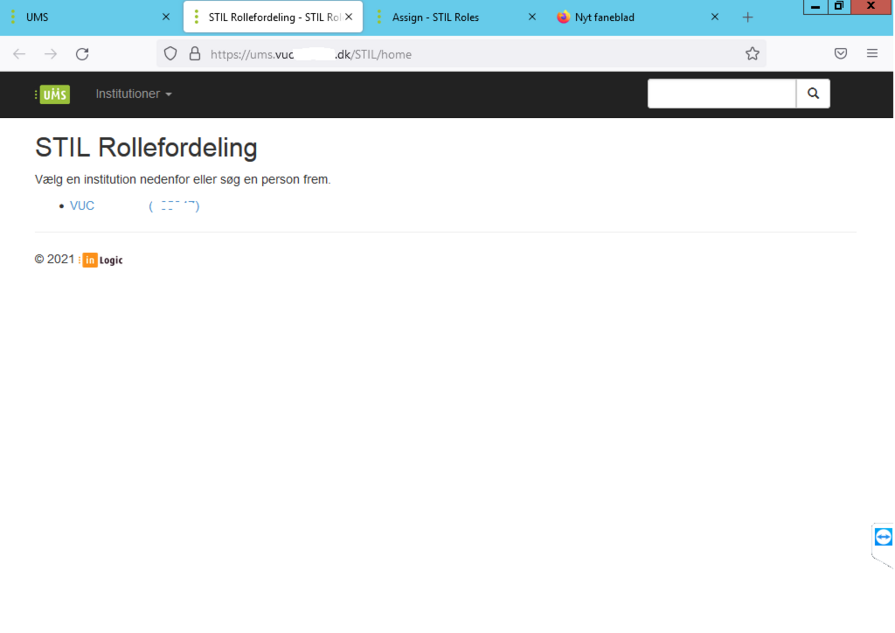
- It is possible to choose different institution numbers.
- Search for user to be assigned roles
- Assign different roles


FAQ:
When can you see that the changes has been applied?
To verify that the changes have been made, you need to open up the Services program on your backend server and restart the service called "UMS License".
From the Configurator, under Template Settings - STIL Settings - You can activate the setting "Generate XML" and then run a GetStudents to give you an XML file which you can search in to see if the person has been added to the upload correctly.